
We begin our journey on a overcast Saturday morning. I used this recipe from Epicurious.com. Here’s hoping they don’t get uptight about it being on my website.
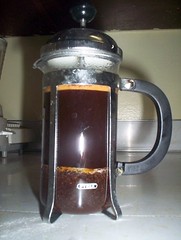
First off, prepare yourself a tasty beverage. Yum.
Next, we gather our ingredients. I have a scale, so I scaled everything, but the volume measures will work practically as well.

So, the mise en place is en place. Let’s begin.
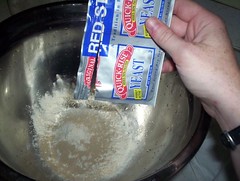
In a large bowl, whisk together the yeast and 1 cup (125 grams/3.8 ounces) of the flour, then whisk in the warm water until smooth.
Note the water: 100 degrees a little cool, 110 is good, 120 is pushing it. 90 is pushing it.

Let the slurry stand uncovered for 10 to 20 minutes, or until it begins to ferment and puff up slightly.
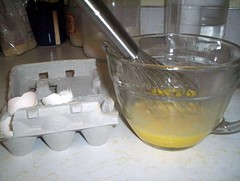
So, whisked the slurry, then we wait, sipping our tasty beverage, whisking the eggs so that they will integrate better.
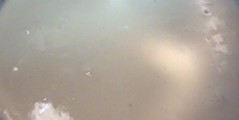
Oooh! Bubbles!
Whisk the eggs, oil, salt, and sugar into the puffed yeast slurry until the eggs are well incorporated and the salt and sugar have dissolved.
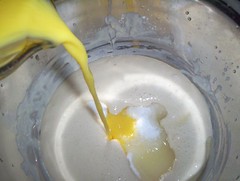
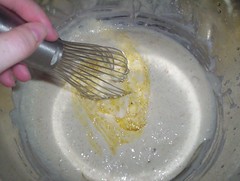
Note the bubbles in the larger version of the picture. They were all hidden beneath the surface.
I aerated my flour in the food processor. A few pulses and presto. Thanks AB.
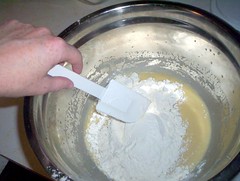
With your hands or a wooden spoon, stir in the remaining 4 cups (550 grams/20 ounces) flour all at once.
I started with about a third of the flour.
>
Once you get to this point:
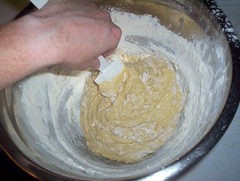
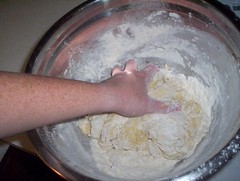
Give up on the man-made impliments and go with what God gave you. Assuming he gave you hands. If he didn’t, sorry, keep using the man-made impliments.
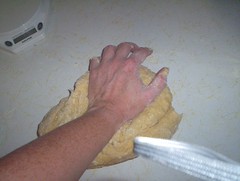
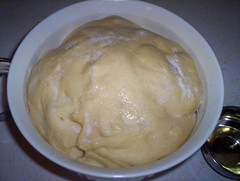
When the mixture is a shaggy ball, scrape it out onto your work surface and knead it until it is smooth and firm, no more than 10 minutes.
Shaggy.
A little flour on the surface. Unless you’ve kneaded enough dough to know the proper texture by feel, set a timer, say, 8 minutes. I always underkneaded until I started timing it.
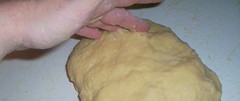
It’s still a little tacky.

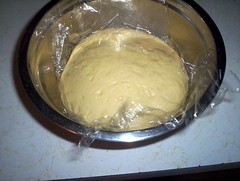
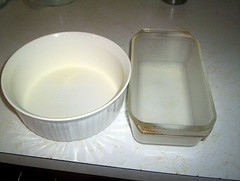
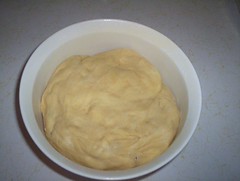
Place the dough in the warmed clean bowl and cover it with plastic wrap. Let ferment for 1 hour, or until just slightly puffed.
It doesn’t say this, but oil the bowl. And the top of the dough.
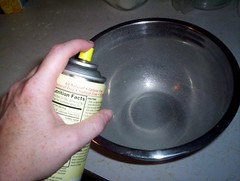
And two layers of plastic wrap. One pressed lightly on the surface of the dough and one over the top of the bowl.
 Thanks Scott Peacock.
Were I not in a bit of hurry, I would probably refrigerate this for the first rise (thanks AB) I have yet to make a bread that this did not improve the flavor of. But not this time.
While the dough is fermenting, prepare the apples.
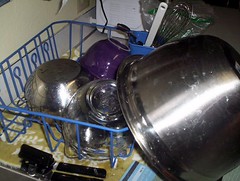
Also, a key to enjoying cooking is clean as you go. Otherwise stuff stacks up and gets in the way and you’re left with a huge mess at the end.
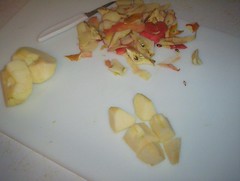
Peel, quarter, and core the apples.
Cut each quarter lengthwise in half, then cut each slice crosswise in half if the apple was medium size, or into three pieces if the apple was large; you should end up with large squarish chunks.
No Braeburns at the store. My choice was Gala or Pink Lady. I prefer Pink Ladies for eating, so I figured I’d prefer them for this. We’ll find out. BTW, all the Deliciouses should not be used for anything other than possibly applesauce. They are an abomination of an apple, mealy and dry and nasty. Blech!
Okay, onward.
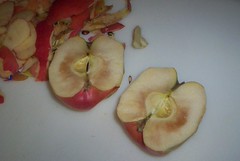 Oh noes! Rotten to the core.
Drag. This leaves me 125 ounces light, but I’m not about to drop everything and go to the store for an apple. I’m sure we’ll get by.
Toss with a little lemon juice to keep the apples from rusting.
Once your dough has doubled in size, turn it out onto your kneading surface.
Cut the dough into two equal pieces and keep one piece covered while you work on the other. Roll out the dough into a 16-inch (41-cm) square about 1/8 inch (3 mm) thick.
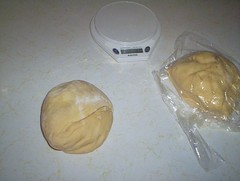

So, it’s not 16 inches, it’s more like 14″, but seriously, close enough.
Scatter 1 heaping cup of the apples over the center third of the dough, then fold up the bottom third to cover them. Press the dough into the apples to try to seal it around them.

Scatter another heaping cup over the folded-over apple-filled portion of the dough and fold the top of the dough over it to create a very stuffed letter fold. Press down on the dough to try to push out any air pockets and to seal it around the apples.
Roll the dough up from a short side into a chunky cylinder, push the dough into the bowl with the smooth side up, and cover it with plastic wrap.


It was a little tricky keeping the apples from popping through. I just kept sealing the holes as they ripped. I have no idea how I could have gotten another apple’s worth in there.
Repeat with the other half
Let the dough ferment for about another hour, or until slightly risen and very soft.
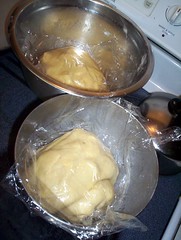
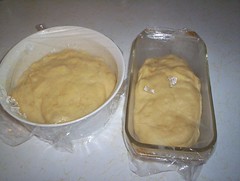
Oil two 8-inch (20-cm) round cake pans or 8 1/2-by-4 1/2-inch (18.5-by-8.5-cm) loaf pans.
I used one of each.
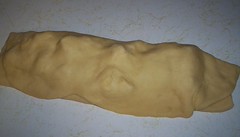
Using as much dusting flour as you need, pat each dough half as best as you can into a rough round or log shape, trying to keep the dough’s smooth skin intact over the top. You will not be able to deflate the dough much at this point because of the apples.
They aren’t just whistling dixie there. Just sorta smush it a bit and seal any holes the apples make.
Slip the dough into the pans smooth side up and cover well with plastic wrap.
I am terrible at shaping bread. You can make it prettier, no doubt.
Let the loaves proof until they have risen over the edges of their pans, about 30 minutes.
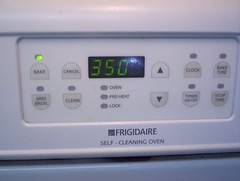
Immediately after shaping the breads, arrange an oven rack in the lower third position, remove any racks above it, and preheat the oven to 350°F.
Key! Don’t forget to turn the oven on or life as you know it will cease to exist.
Get ready for the crust making.
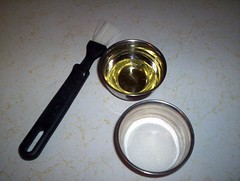
When the loaves have risen and do not push back when gently pressed with your finger but remain indented, brush each one with a generous tablespoon of oil, then sprinkle them with a few tablespoons of sugar to form a sugary-oily crust.
Mmm, sugary-oily crust.

I didn’t so much brush the oil on as use the brush to pat the oil around.
Bake for 45 to 55 minutes, until very well browned.
When I put bread in the oven I pour about 1/8 cup water on the stone that sits in the bottom of my oven (thanks AB). The steam does something magical to the crust. Should I do it with this bread, given its sugary-oily crust? We’ll find out.
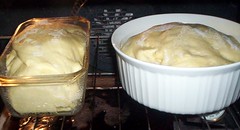
Here’s an interesting thing. After 45 minutes the loaf pan is 10 degrees warmer than the cake pan, according to my probe. So I took it out at 200 degrees. Well, I took them both out at 200 degrees, but the loaf came out before the round one. Something to keep in mind.


Don’t forget to let it cool. Good luck with that.

Share and Enjoy!

Wait a sec! How did I get on dullest blog in the world blog? (Don’t worry! I’m just jealous at having access to decent looking food)
The dullest blog in the world link is to your right.
And it was delicious.
yum you could ship it to me.
Well, I do have a spare loaf.
I just like to say Challah. Get to be all throaty.